Beyond the Screen: Your First Code-to-Logic Bridge with Arduino
Stop just writing code; start making things move. A software developer's guide to the Arduino Uno, C++ for hardware, and building your first physical Hello World.
Read More →
* SYSTEM.NOTICE: Affiliate links support continued laboratory research.
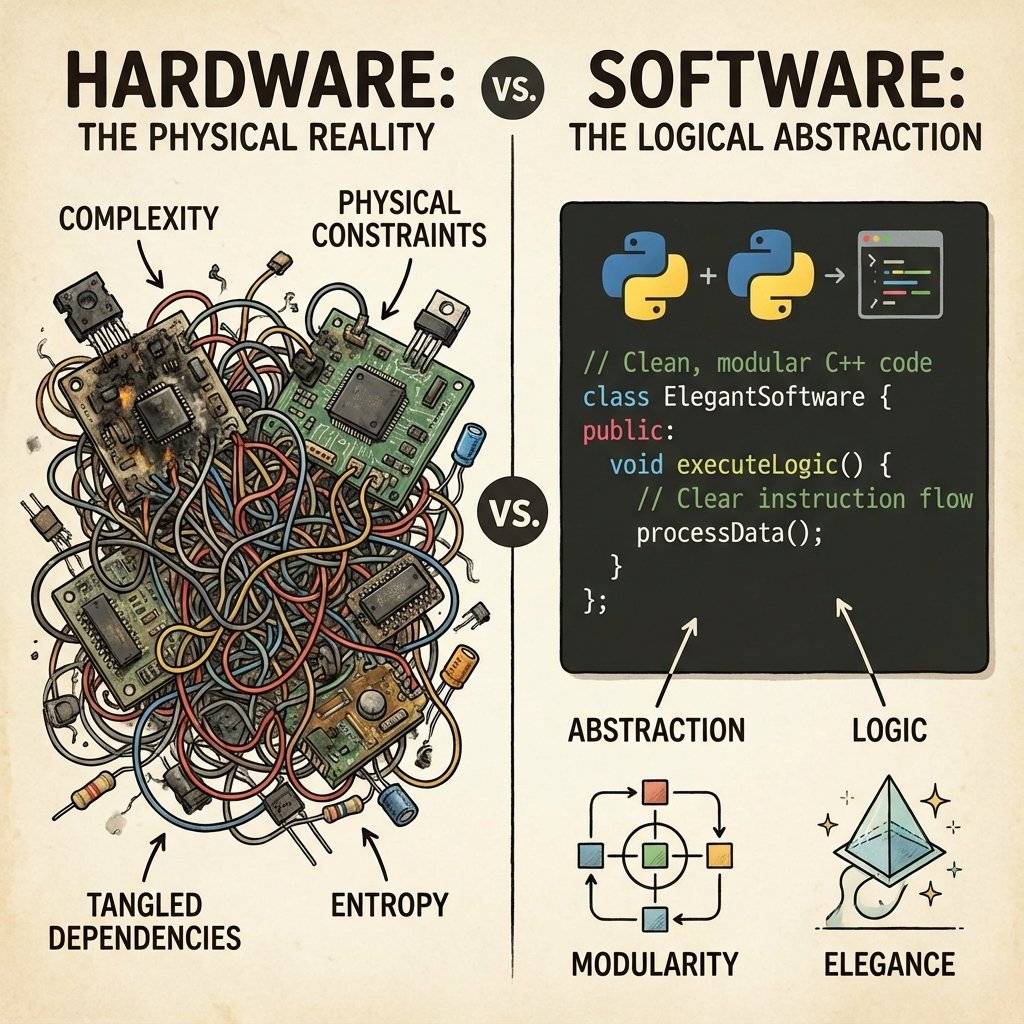
Today, we are going to build the exact same effect using Software. But we aren’t just going to blink lights. We are going to learn the Golden Rule of Programming: D.R.Y. Don’t Repeat Yourself.
If you find yourself copy-pasting code (like we did in the SOS challenge on Day 11), stop. There is a better way. We are going to master two powerful tools: The Array and The For Loop.
This circuit is famous for two reasons.
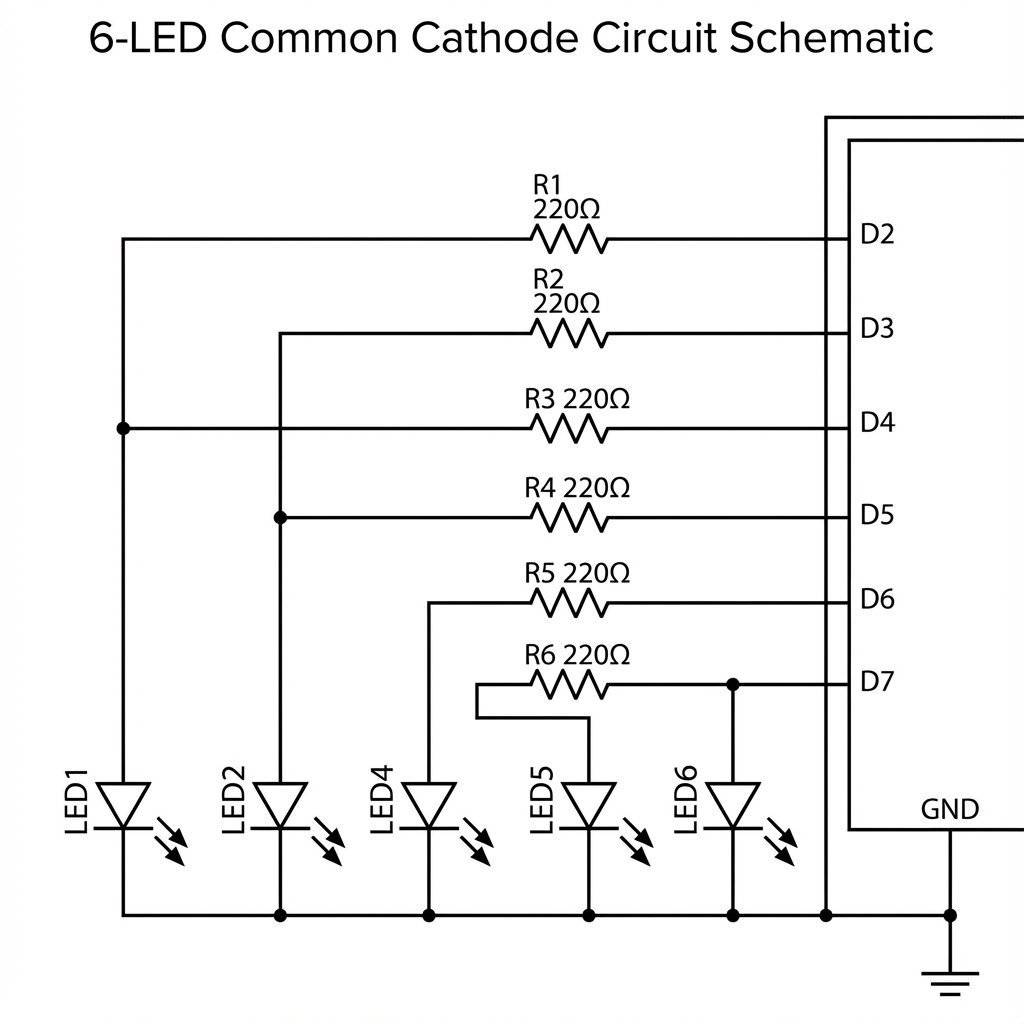
We need a row of 6 LEDs to simulate the scanner.
Why not Pin 0 and 1? Pro Tip: Avoid Pins 0 and 1. They are used for “Serial Communication” (talking to the computer). If you plug LEDs into them, you might block your code uploads. Start at Pin 2.

Let’s try to write this using what we know (Variables and digitalWrite).
void setup() {
  pinMode(2, OUTPUT);
  pinMode(3, OUTPUT);
  pinMode(4, OUTPUT);
  pinMode(5, OUTPUT);
  pinMode(6, OUTPUT);
  pinMode(7, OUTPUT);
}

void loop() {
  digitalWrite(2, HIGH); delay(100); digitalWrite(2, LOW);
  digitalWrite(3, HIGH); delay(100); digitalWrite(3, LOW);
  digitalWrite(4, HIGH); delay(100); digitalWrite(4, LOW);
  // ... and so on ...
}
This works.
But it is Terrible.
Imagine if you had a strip of 100 LEDs.
You would have to write 200 lines of setup code.
If you wanted to change the speed, you would have to edit 100 delay() lines.
We need a machine to do the heavy lifting.
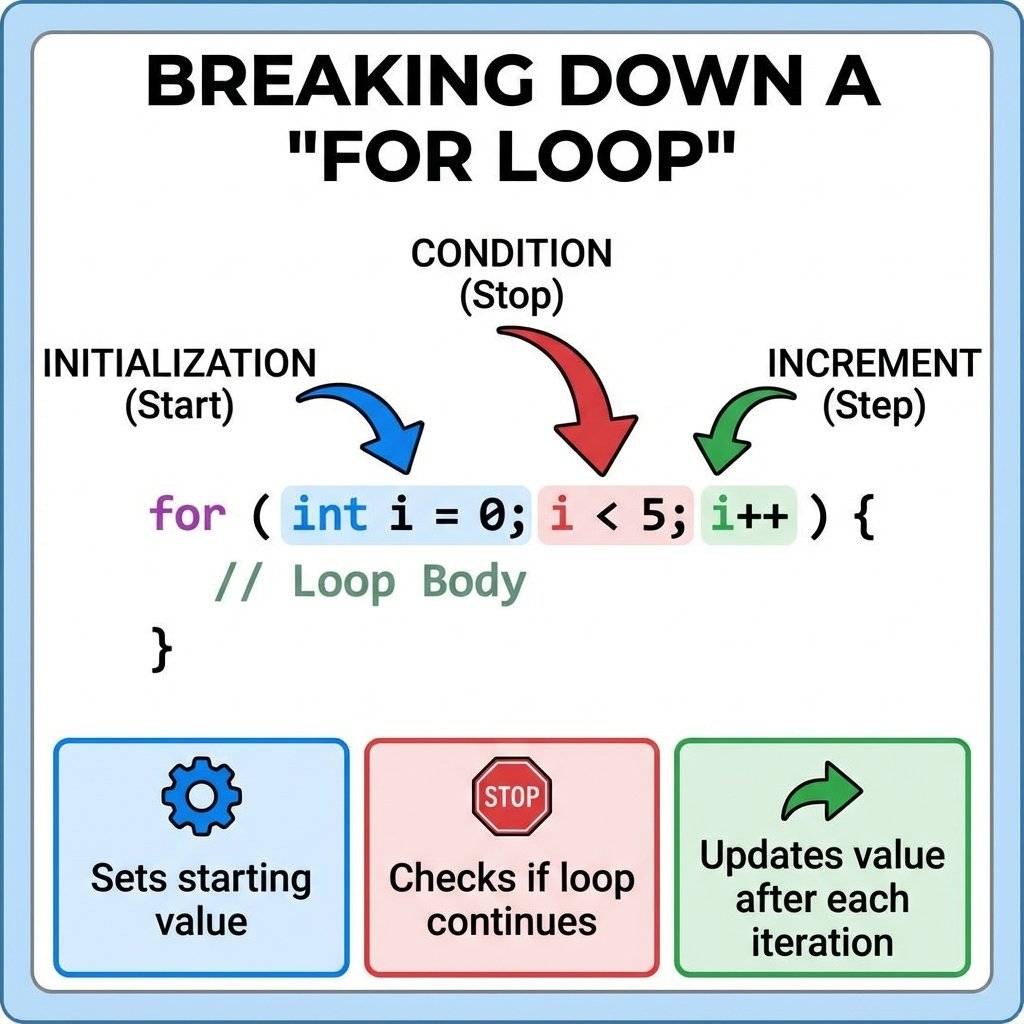
A For Loop is a block of code that repeats itself a specific number of times. It is perfect for patterns.
for (int i = 2; i < 8; i++) {
  // Do something
}
It looks scary, but break it down:
int i = 2): “Start a counter variable called ‘i’ at 2.”i < 8): “Keep running as long as ‘i’ is less than 8.”i++): “After each loop, increase ‘i’ by 1.”So, this loop will run for i=2, i=3, i=4, i=5, i=6, i=7.
When i hits 8, the condition (8 < 8) is FALSE, and the loop stops.
We can replace those 6 lines of setup with 3 lines:
void setup() {
  for (int i = 2; i < 8; i++) {
    pinMode(i, OUTPUT);
  }
}
The Arduino runs this: “Set Pin 2 to Output. Set Pin 3 to Output… Set Pin 7 to Output.” Done.
You might be tempted to turn on ALL the LEDs at once.
digitalWrite to make them all HIGH?
Be Careful.
Each pin can handle . Safe.
But the ATMega328P Chip itself has a TOTAL limit of about .
If you turn on 10 LEDs at each, you hit . You are at the red line.
If you try to drive 20 LEDs? Pop.
By scanning them one at a time (like we do in the Knight Rider), we only draw total.
It is safe. It is efficient.
You might notice that C++ doesn’t stop you from reading ledPins[100].
Python would scream “IndexError!”.
C++ just shrugs and lets you look at memory address 100.
Why?
Speed.
Checking bounds takes time.
In 1972, when C was invented, computers were slow. Every machine cycle counted.
So they removed the safety rails.
It is like a table saw without a guard. It cuts faster, but it demands respect.
This design philosophy lives on in Arduino.
Loops are great if your pins are sequential (2, 3, 4, 5).
But what if you wired your LEDs to Pins 2, 5, 9, 10, 11, and 13?
The i++ logic fails because the numbers jump around.
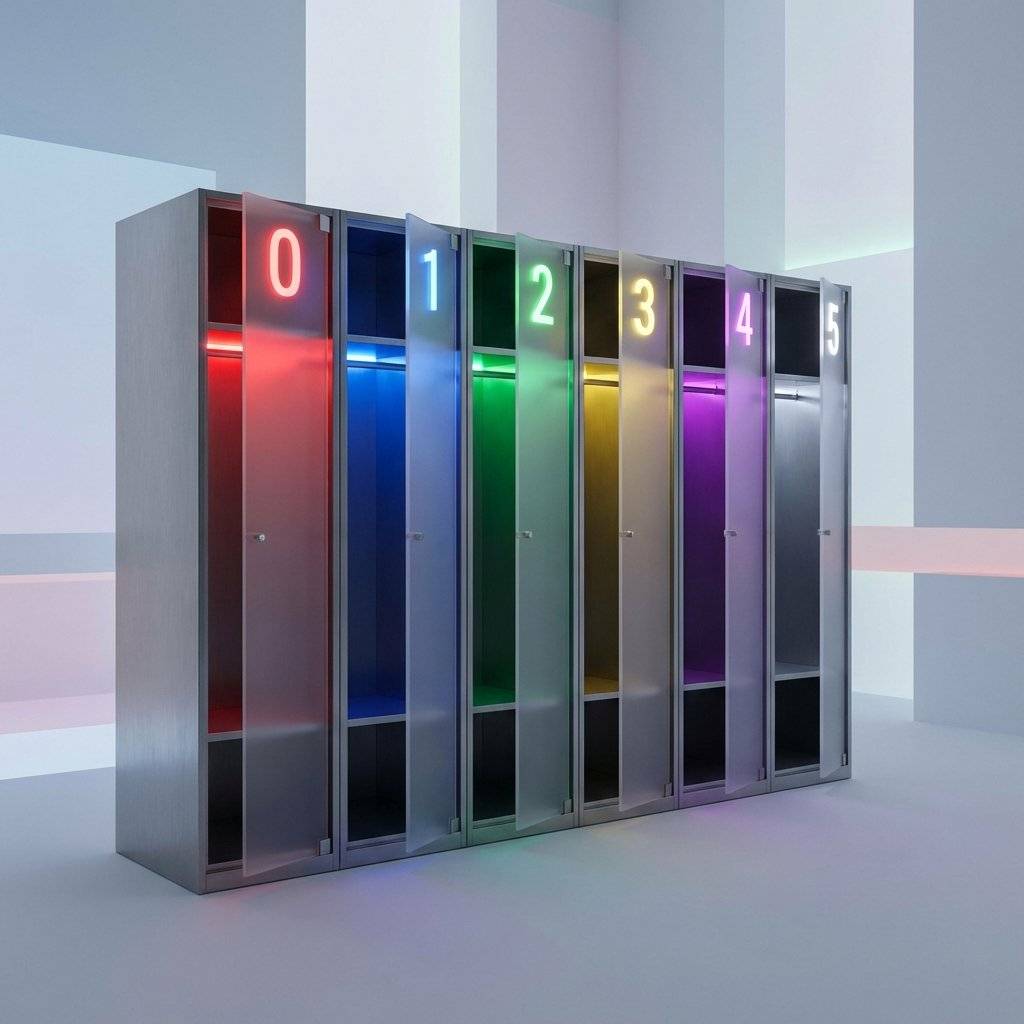
Enter The Array. An array is a variable that can hold multiple values. Think of it like a row of mailboxes.
int ledPins[] = { 2, 5, 9, 10, 11, 13 };
To get a value out, we use its Index number in square brackets [].
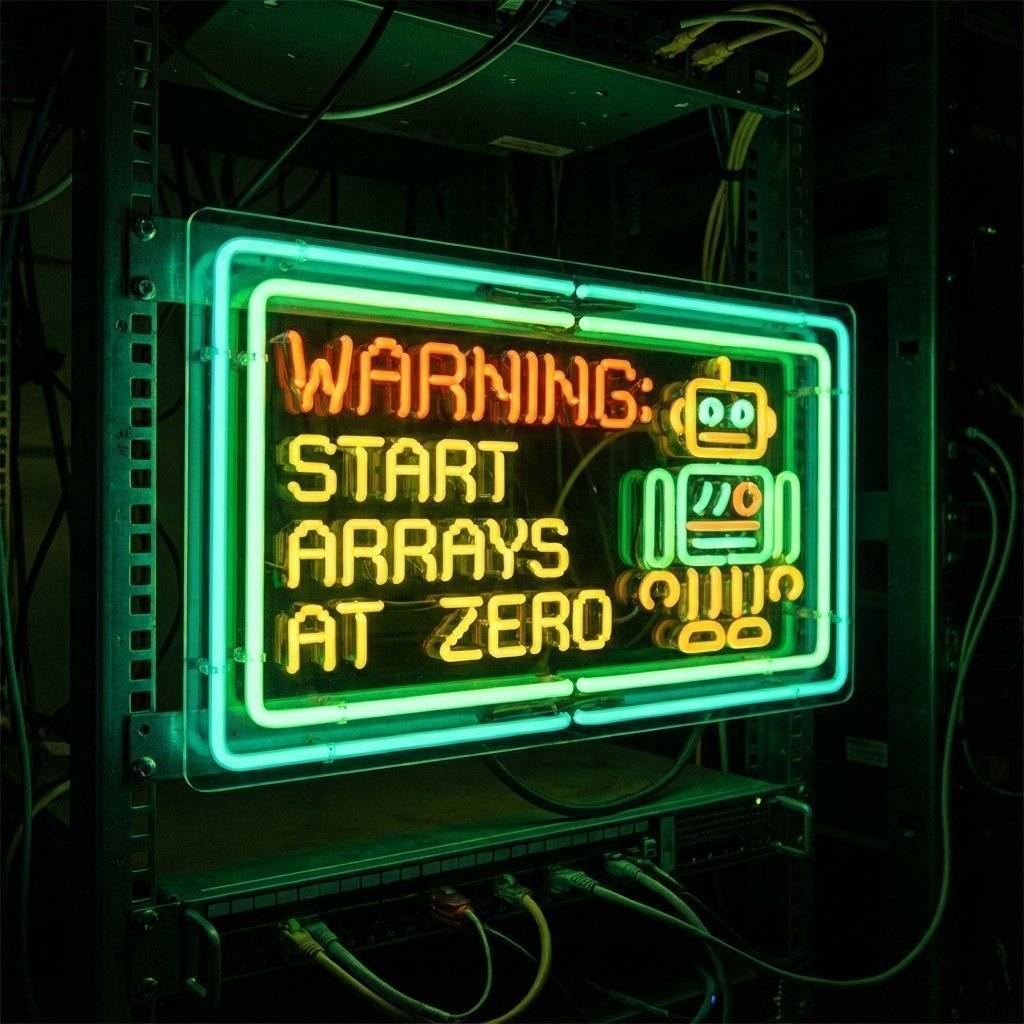
WARNING: Computers start counting at ZERO.
ledPins[0] is 2 (The first item).ledPins[1] is 5.ledPins[5] is 13 (The last item).If you ask for ledPins[6], you get a crash (Index Out of Bounds).
In modern languages (Rust, Go), the compiler stops you from reading ledPins[6].
In C++, if you write to ledPins[100], the microcontroller obeys.
It walks 100 steps down the memory lane and overwrites whatever is there.
That might be:
Let’s combine Arrays and Loops to build the ultimate scanner. We will use pins 2-7.
// Day 13: Knight Rider
int ledPins[] = {2, 3, 4, 5, 6, 7}; // Our hardware map
int pinCount = 6;                   // How many LEDs?
int waitTime = 50;                  // Speed (ms)

void setup() {
  // Use a loop to set all pins to OUTPUT
  for (int i = 0; i < pinCount; i++) {
    pinMode(ledPins[i], OUTPUT);
  }
}

void loop() {
  // 1. Scan Left to Right
  for (int i = 0; i < pinCount; i++) {
    digitalWrite(ledPins[i], HIGH); // Turn On
    delay(waitTime);
    digitalWrite(ledPins[i], LOW);  // Turn Off
  }

  // 2. Scan Right to Left
  // Start at the end (5), go down to start (0)
  for (int i = pinCount - 1; i >= 0; i--) {
    digitalWrite(ledPins[i], HIGH);
    delay(waitTime);
    digitalWrite(ledPins[i], LOW);
  }
}
Forward Loop: i goes 0 -> 5.
When i=0, it turns on ledPins[0] (Pin 2).
When i=1, it turns on ledPins[1] (Pin 3).
Backward Loop: i starts at 5 and goes down (i--).
When i=5, it turns on ledPins[5] (Pin 7).
If we want to change the speed, we just change int waitTime = 50; to 20.
One change updates the entire animation.
This is Soft Coding.
The most common bug you will write is this:
for (int i = 0; i <= 6; i++)
In our array of 6 items, the indices are 0, 1, 2, 3, 4, 5.
The item at index 6 does not exist.
But if you use inclusive <= 6, the loop tries to access ledPins[6].
The Arduino will read whatever random memory garbage is next to your array.
It might blink a random pin. It might reset the chip.
Rule: Always use < count for zero-indexed arrays. Never <=.

The code above has a small visual glitch. It hits the end (Pin 7) and then effectively hits it again immediately when the reverse loop starts. Pin 7 stays on for twice as long. Can you fix it? Hint: Adjust the start/end points of your loops.
Can you write the entire knight rider loop() in fewer than 10 lines?
(Hint: You can put a for loop inside another for loop?)
Try to make your code as small as possible.
But remember: Readability is king.
If your code is short but unreadable, you failed.
The Knight Rider scanner wasn’t just blinking dots.
It had a “Trail”. It faded out.
With digital pins (HIGH/LOW), we can’t do that.
BUT… if you move your LEDs to PWM pins (3, 5, 6, 9, 10, 11), you can use analogWrite() to change brightness.
Imagine an array not of pin numbers, but of Brightness Values.
int brightness[] = {255, 128, 64, 32, 10, 0};
As you loop through the LEDs, you can shift these brightness values along the strip.
This is complex coding (involving “Array Shifting”), but it creates a fluid, beautiful animation.
This is how modern “Neopixel” LED strips work.
Zero-Indexing confuses everyone.
Why is the first item “0”?
It comes from CPU memory logic.
An array is a block of memory.
The variable ledPins points to the Start Address of that block.
The Index is the Offset.
ledPins[0] = Start Address + 0 steps.ledPins[1] = Start Address + 1 step.
If we started at 1, the compiler would have to do subtraction (index - 1) every single time it accessed memory.
Starting at 0 is faster for the machine.
So, we humans simulate the machine.Sometimes, loops are TOO slow. The computer spends time jumping back to the top of the loop. In extreme high-speed scenarios (like video generation), engineers do Loop Unrolling. Instead of:
for (int i=0; i<4; i++) { doThing(i); }
They write:
doThing(0);
doThing(1);
doThing(2);
doThing(3);
It takes more memory (code space), but runs faster because there is no logic checking i < 4 every time.
For regular LEDs? Don’t do this. Use the loop. Readability > Nanoseconds.
Let’s appreciate how much cleaner your code is. Before (Day 11 Style): If you wanted to add 4 more LEDs, you would have to:
add 4 pinMode lines.
add 8 digitalWrite lines to the forward loop.
add 8 digitalWrite lines to the backward loop.
After (Day 13 Style):
Add numbers to the ledPins array.
Change int pinCount.
Done. The loop logic handles the rest automatically. This is Scalable Code.
| Component | Quantity | Value | Notes |
|---|---|---|---|
| Arduino Uno | 1 | R3 or R4 | The Brain |
| LEDs | 6 | Red | The Scanner |
| Resistors | 6 | - | Current Limiting |
| Jumper Wires | 7 | M-M | 6 Signals + 1 GND |
| Breadboard | 1 | Half+ | Prototyping |
Let’s compare Day 10 (Hardware) and Day 13 (Software).
| Feature | Hardware (CD4017) | Software (Arduino) |
|---|---|---|
| Parts | Chip, Cap, Resistor, Pot | Just LEDs |
| Wiring | Spaghetti Nightmare | Clean |
| Flexibility | Rigid | Infinite |
| Speed | Adjust with Pot | Adjust Variable |
| Pattern | Linear only | Any pattern you can code |
| Cost | $0.50 | $20.00 |
Software wins on flexibility. Hardware wins on cost. But for prototyping? Software is King.

{}.Even pros make mistakes with loops. Here are the classics:
The Infinite Loop:
for (int i = 0; i > -1; i++)
This loop will run forever because i (0, 1, 2…) will ALWAYS be greater than -1.
Result: Your Arduino freezes.
The Off-By-One Error:
ledPins[6]
Remember, if you have 6 items, the last one is [5]. Accessing [6] reads garbage memory.
Result: Random behavior.
The “Slow Motion” Bug:
Using delay(1000) inside a loop that runs 10 times making the whole animation take 10 seconds.
Result: Boring light show.
Variable Scope:
Declaring int i inside the loop for (int i...) means you cannot use i outside that loop. It is deleted when the loop finishes.
Before you upload, ask yourself:
< count?delay()? Without it, the LEDs blink so fast they look like they are all ON at once.Array: A data structure that holds a list of items of the same type.
Index: The position number in an array (Starts at 0).
For Loop: A control structure for repeating code.
Iteration: One single pass through a loop.
D.R.Y.: Don’t Repeat Yourself. A core coding principle.
Increment (++): Add one to a variable.
Decrement (--): Subtract one from a variable.
You have leveled up. You are no longer writing instructions line-by-line. You are writing rules. “Do this to every pin in the list.” “Run this 50 times.” You are leveraging the computer’s ability to do boring tasks quickly.
Tomorrow, we add senses. We will learn about Analog Inputs. We will hook up a Potentiometer (a knob) to control the speed of our Knight Rider scanner real-time, just like we did in Day 10… but with code.
See you on Day 14.

Stop just writing code; start making things move. A software developer's guide to the Arduino Uno, C++ for hardware, and building your first physical Hello World.
Read More →
Stop squinting at the Serial Monitor! Learn to connect LCD 1602 (I2C) and OLED SSD1306 displays to Arduino. Master coordinates, custom characters, and build a standalone Digital Clock.
Read More →
Arduino pins are digital, so how do they output 2.5V? Learn the secret of Pulse Width Modulation (PWM) to fade LEDs, control motor speed, and mix RGB colors.
Read More →