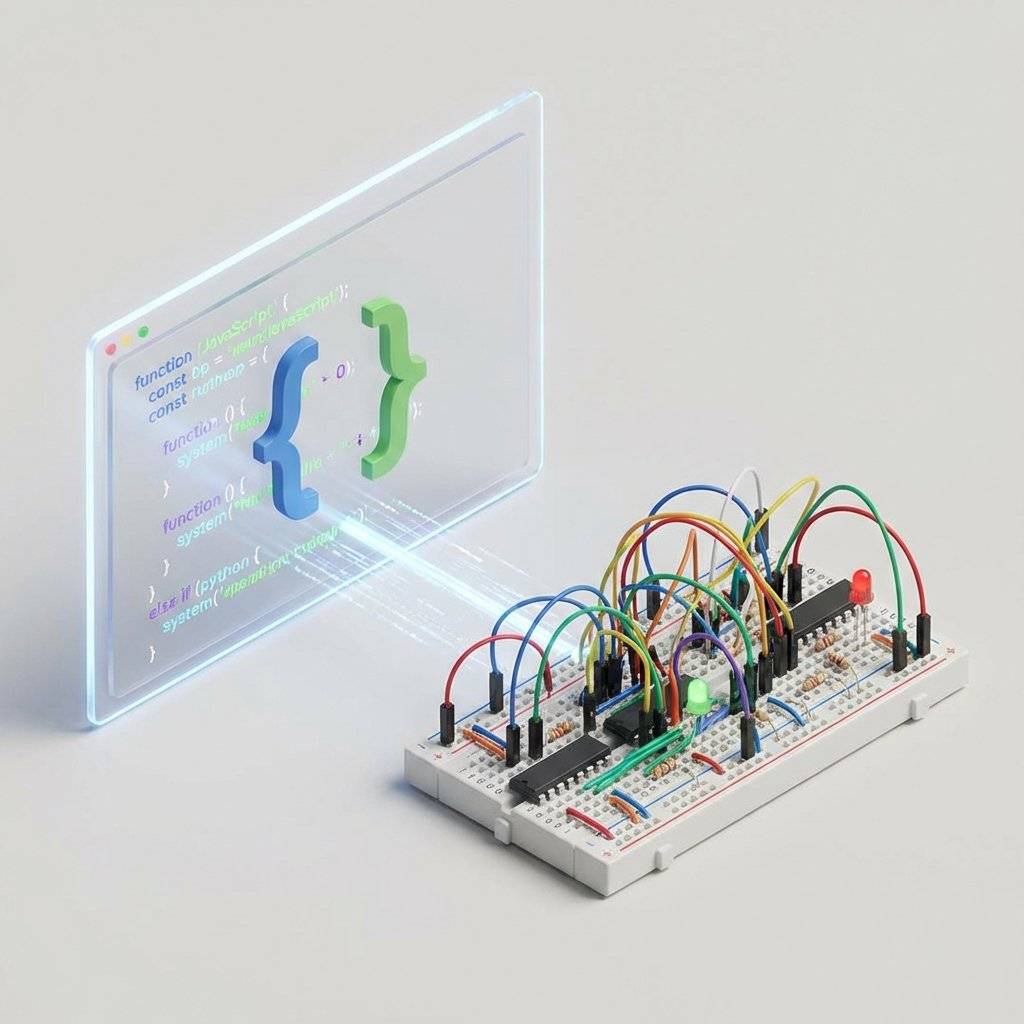
Prototyping at 0ms Latency: Why the Breadboard is Your New Sandbox
Stop fighting your wires. Learn to treat the breadboard like a high-speed sandbox for rapid hardware iteration, modular design, and professional prototyping.
Read More →
* SYSTEM.NOTICE: Affiliate links support continued laboratory research.
It was a cold Tuesday morning in February. I was deep in the bowels of a distributed microservices architecture, chasing a race condition that only appeared under peak load. I had six terminal windows open, kubectl logs streaming like a digital waterfall, and a half-drunk coffee interacting dangerously with my cortisol levels. The bug was “ephemeral”—a ghost in the machine that happened somewhere in a headless server rack thousands of miles away.
I fixed it. I pushed the commit. The CI/CD pipeline turned green. And… nothing changed in the physical room around me.
The code ran, data was transformed, and users were served. It was efficient, scalable, and technically impressive. But it felt utterly intangible. I was moving bits, but I wanted to move atoms. I wanted to write code that would make a motor spin, a light blink, or a door lock. I wanted to escape the infinite abstraction layers of modern software and get down to the silicon.
So, I closed VS Code, unplugged my second monitor, and bought a soldering iron.
As software developers, we live in a world of virtually infinite resources. If you need more memory, you spin up a larger instance. If you need to undo a mistake, git revert. If a process crashes, the orchestrator restarts it. Our failures are mostly silent, resolved by logging into a dashboard and clicking “Reset.”
Hardware is different. Hardware is unforgiving, visceral, and beautifully logical.
When I burned my first LED (and smelled that distinct, acrid fragrance of semiconductor death), there was no Ctrl+Z. That component was physically destroyed by my ignorance of Ohm’s Law. It was a failure I could see, smell, and touch. And strangely, I loved it. It restored a sense of consequence to engineering that I hadn’t felt in years.
You might think electronics is a form of black magic involving arcane mathematics and mystical components. But here is the secret: Hardware is just another stack. You already have the logical foundation; you just need to map your existing mental models to physical equivalents.
| Software Concept | Hardware Equivalent | Logical Role |
|---|---|---|
| Variable | Voltage (State) | Storing/Representing a value |
| Function Call | Signal / Pulse | Transferring information/triggering action |
| Library | Component / IC | Reusable logic module |
| API Integration | Protocols (I2C/SPI) | Inter-component communication |
| Debugging | Multimeter / Oscilloscope | Observing internal state |
| Memory Leak | Parasitic Capacitance | Unwanted storage of state |
| Compiler Error | Magic Smoke | Fatal execution failure |
As a developer, you know how to break down complex systems into modular blocks. You know how to read documentation (though datasheets are arguably the “hard mode” version of API docs). Most importantly, you know how to troubleshoot. In hardware, the “debugger” is a physical probe, and the “stack trace” is a waveform on a screen.
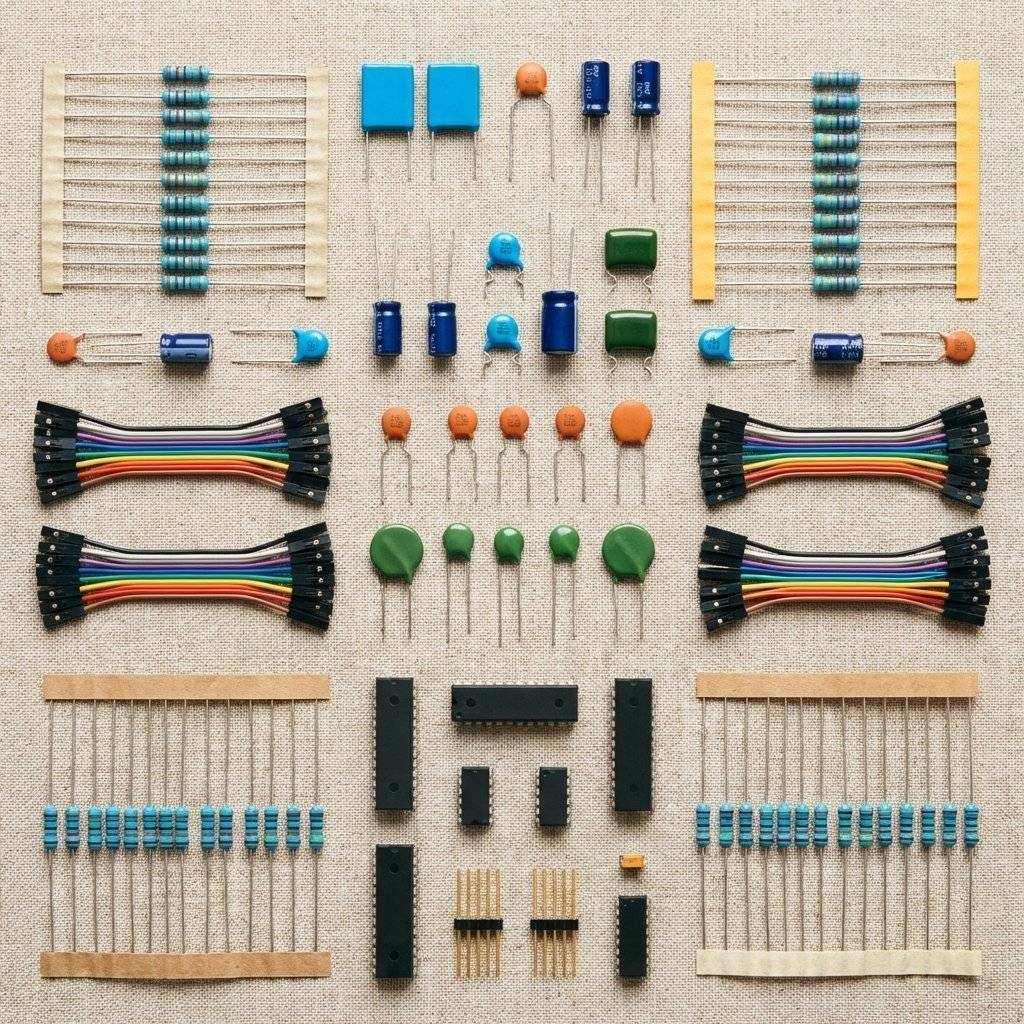
In software, your IDE is your sanctuary. It’s where you spend 90% of your time. In the world of atoms, your IDE is your workbench. A clean, well-equipped bench is the difference between an enjoyable hobby and a frustrating weekend of looking for lost resistors.
console.log and debugger combined.
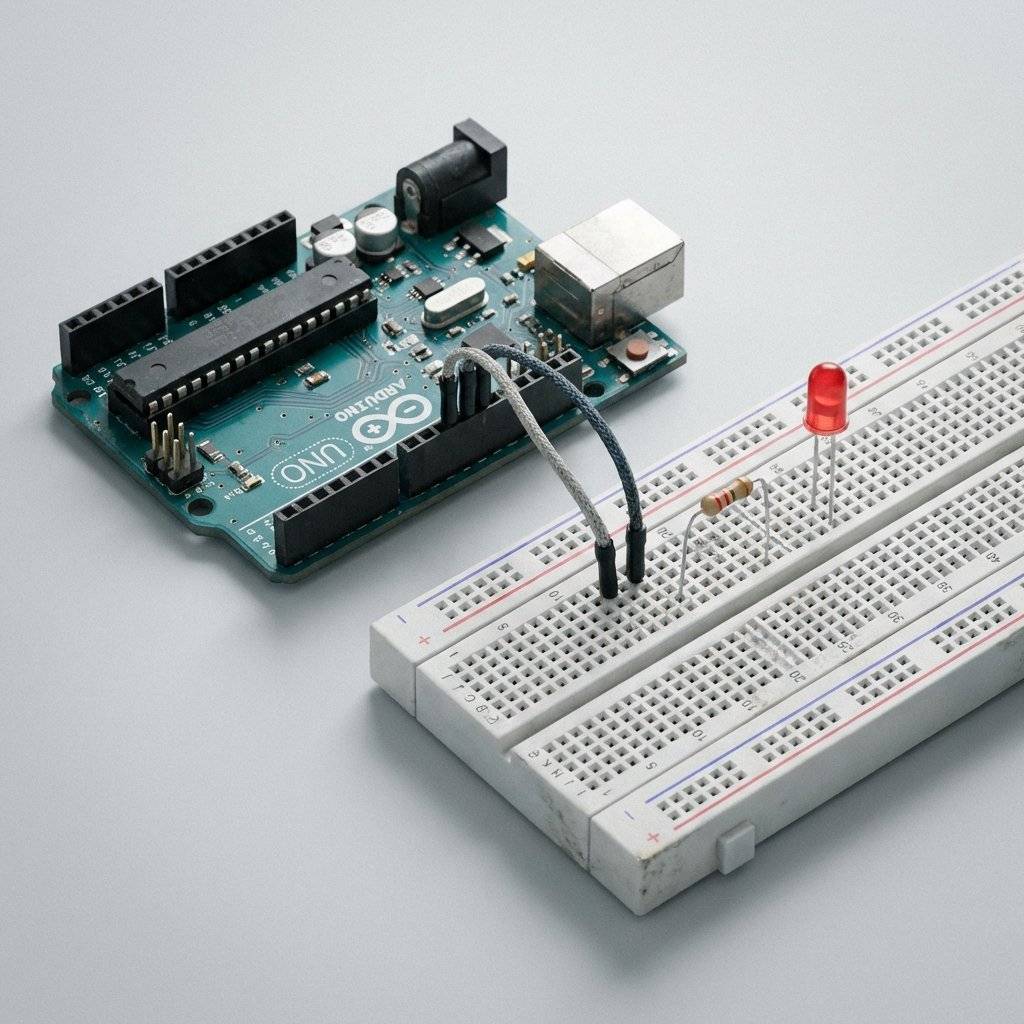
Let’s look closer at the “Blink” project. For a developer, the magic isn’t in the light; it’s in the interface.
Boolean gate) for electricity.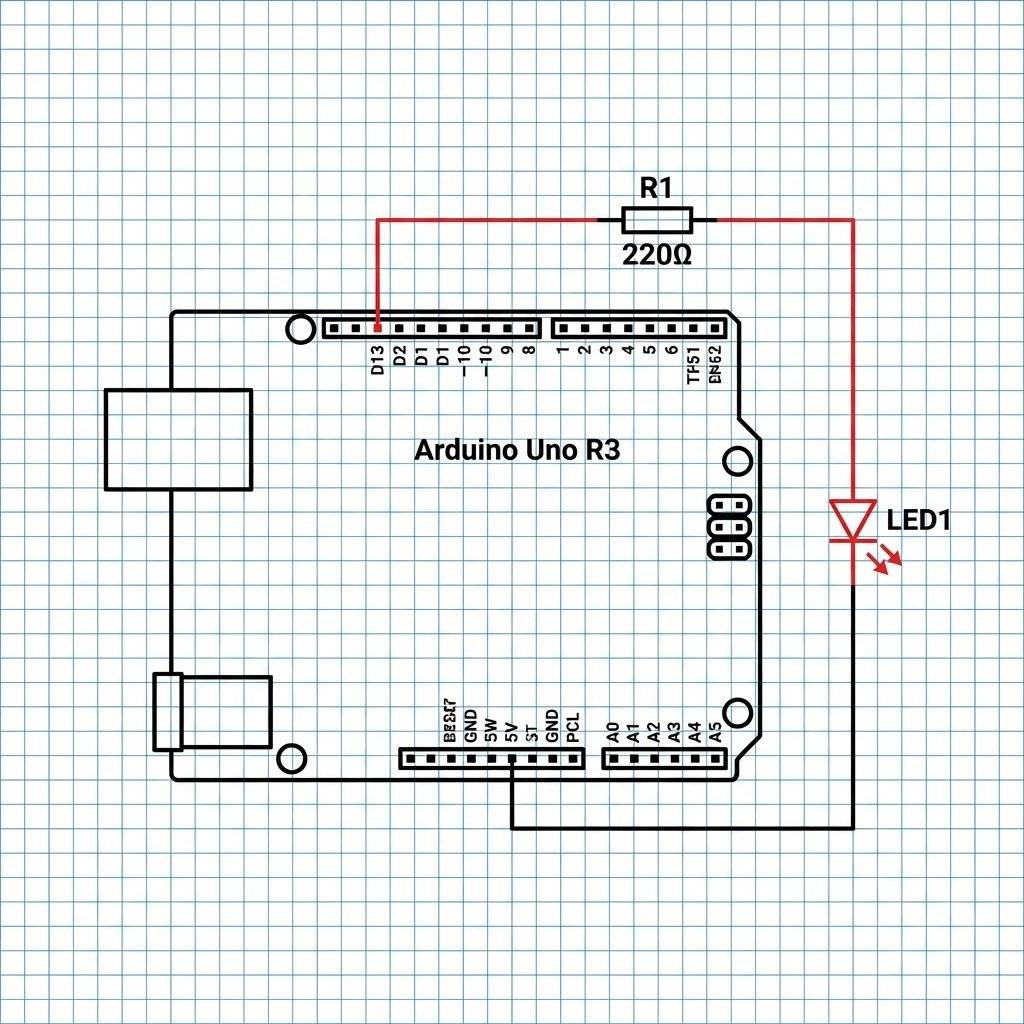
digitalWriteAs coders, we like to know how things work under the hood. When you call digitalWrite(13, HIGH), what actually happens?
The Arduino abstraction hides the complexity of Port Registers. Inside the ATmega328P chip, Pin 13 is actually bit 5 of Port B.
When the Arduino runtime executes your code, it eventually performs an operation equivalent to:
PORTB |= (1 << 5);
By writing a 1 to that specific bit in the Port Register, you are physically closing a transistor switch inside the silicon, connecting that pin to the 5V rail. You are literally flipping a physical bit in the real world.
Standard Arduino Version (The “High-Level” API):
/**
 * Project: Hardware Hello World (Blink)
 * Purpose: Toggle an LED on Pin 13
 * Author: Rahul (TechnoChips)
 */

void setup() {
  // Configures Pin 13 as an OUTPUT.
  // We're telling the silicon to 'drive' this pin.
  pinMode(13, OUTPUT);
}

void loop() {
  // Turn LED on (5V)
  digitalWrite(13, HIGH);
  delay(1000); // Wait 1 second
// Turn LED off (0V)
  digitalWrite(13, LOW);
  delay(1000); // Wait 1 second
}
Developer Edition (The “Low-Level” Port Manipulation):
/**
 * Project: Low-Level Blink
 * Bypassing the Arduino abstraction layer for maximum speed.
 */
#include <avr/io.h>
#include <util/delay.h>

int main(void) {
  // DDRB is the Data Direction Register for Port B.
  // Setting bit 5 to '1' makes Pin 13 an Output.
  // This is direct memory access for hardware.
  DDRB |= (1 << DDB5);
  while(1) {
    // Set Port B bit 5 HIGH (Volts = 5.0)
    PORTB |= (1 << PORTB5);
    _delay_ms(1000);
    // Set Port B bit 5 LOW (Volts = 0.0)
    PORTB &= ~(1 << PORTB5);
    _delay_ms(1000);
  }
  return 0; // Standard C compliance
}
You don’t need a PhD in Physics, but you do need to understand the relationship between Voltage (V), Current (I), and Resistance (R). The formula is simple: .
Think of it like a network request:
If you want high throughput (Current) but have high congestion (Resistance), you need more pressure (Voltage). If you have zero resistance, your throughput becomes infinite—this is a Short Circuit, and it’s the hardware equivalent of a while(true) loop with no exit condition. It will crash your system (melt your wires).

In software, we use async/await or Event Listeners to handle asynchronous tasks. In hardware, we have Interrupts.
delay()The delay(1000) function is a “Blocking” call. While the Arduino is waiting, it can’t do anything else—it can’t read a sensor, it can’t check a button, and it can’t communicate. For a software developer, this is an anti-pattern.
Interrupts allow the hardware to “Pause” the main code execution when a physical event occurs (like a button press). The CPU jumps to a specific function (the ISR), executes it lightning-fast, and then returns to where it left off. This is high-performance, event-driven programming at the silicon level.
/**
 * Project: Event-Driven LED Toggle
 * Author: Rahul (TechnoChips)
 */
void setup() {
  // Use built-in pull-up resistor for button
  pinMode(2, INPUT_PULLUP);
  // Trigger handleButton when Pin 2 goes from HIGH to LOW (FALLING)
  attachInterrupt(digitalPinToInterrupt(2), handleButton, FALLING);
}

void loop() {
  // Main logic runs here without being blocked by button polling
}

void handleButton() {
  // This code runs IMMEDIATELY when the button is pressed
  digitalWrite(13, !digitalRead(13)); // Toggle the LED
}As software developers, we usually work levels above the hardware. But in embedded, the architecture matters.
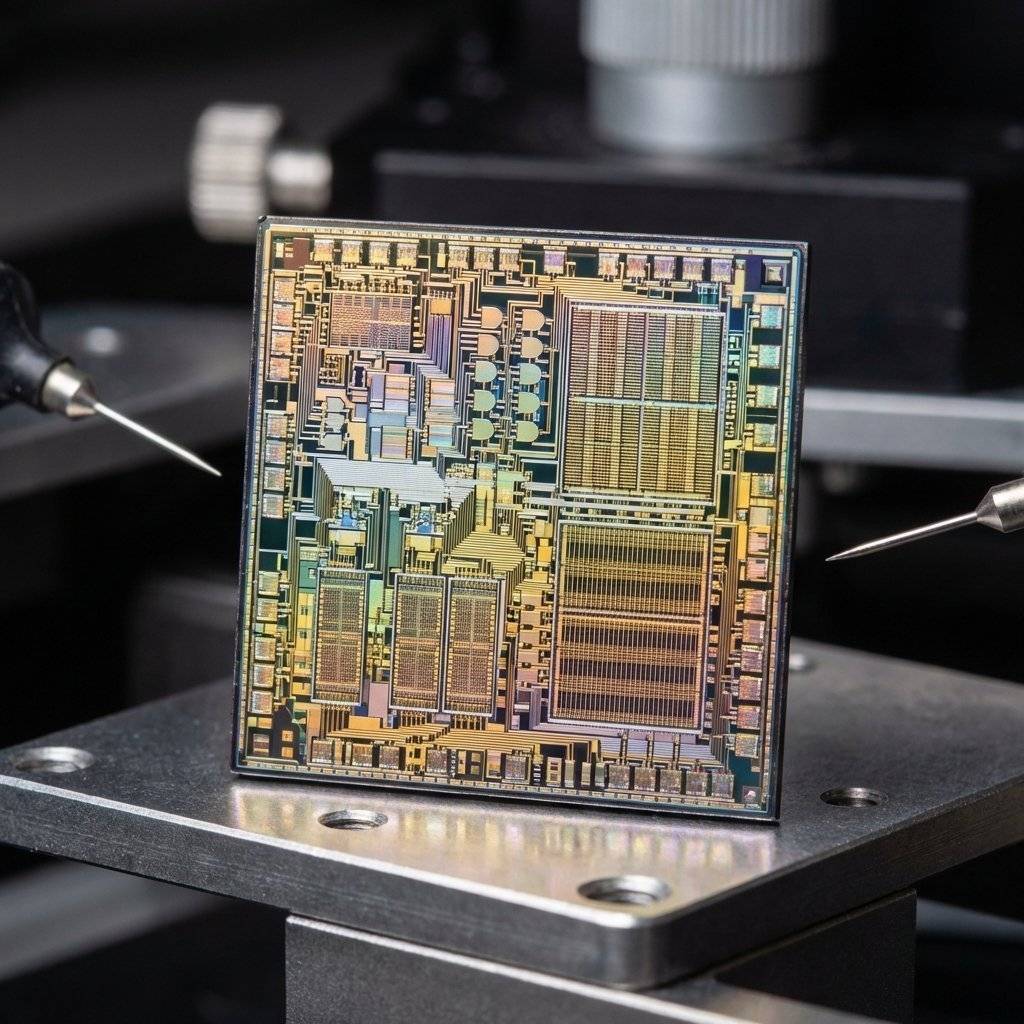
An 8-bit microcontroller like the ATmega328P has an Arithmetic Logic Unit (ALU) that processes 8 bits at a time. It doesn’t have a GPU or a multi-core CPU. It has Registers—tiny, ultra-fast memory slots that sit directly on the CPU. When you add two numbers in code, they are loaded into these registers, processed by the ALU, and stored back.
Most PCs use Von Neumann architecture (code and data share memory). Most microcontrollers use Harvard Architecture, where your code (Flash) and your data (SRAM) live in completely separate memory spaces. This is why you can’t “execute” data or accidentally overwrite your program while it’s running.
Blinking an LED is an Output task. But the real power of hardware comes from Inputs. How does a machine “see” or “feel” the world?
Breadboards are great for prototyping, but eventually, you want your project to last. This is where Soldering comes in.

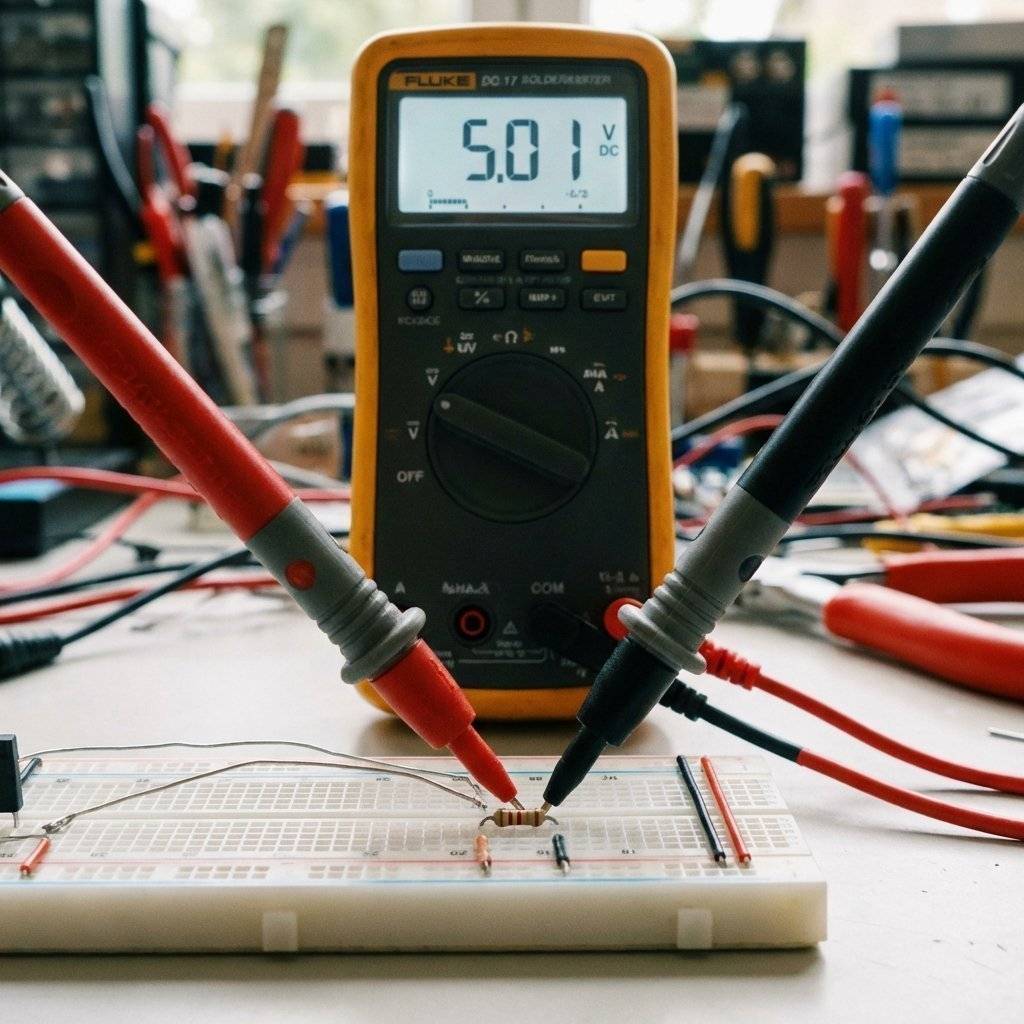
Since you’re a coder, you’re used to debugger statements. In hardware, you use a Logic Probe to see if a wire is HIGH (1) or LOW (0).
By building your own tools, you start to understand the physics of the environment you write code for.
When your code doesn’t work, you check the logs. When your circuit doesn’t work, use this “Physical Debugger”:
In the cloud, we treat RAM as a cheap commodity. On an Arduino Uno, you have 2KB of SRAM. This constraint forces you to understand data types. You stop using 64-bit integers for values that only go up to 10. This “low-level” discipline makes you a significantly better high-level architect.
Software is never finished. A hardware project has a definitive “Done” state. When you solder the last joint and put it in a box, it is a completed artifact. It exists independently of the internet.
There is a unique dopamine hit that comes from physical interaction. Seeing a motor move because you moved your mouse, or receiving a Slack notification because someone pressed a physical button in your house, bridges the digital and physical worlds.

Blinking an LED is the gateway drug. Once you understand digital outputs, you’ll want to:
Engineering is a team sport. The hardware community is one of the most welcoming on the planet.
Hackerspaces: Physical locations where you can use tools like laser cutters and 3D printers for a small monthly fee.
Forums: Sites like Arduino Forum, Stack Exchange (Electronics), and Reddit (/r/arduino) are goldmines of information.
Open Source Hardware: Just like GitHub, we have sites like Oshwlab and Hackster.io where people share their full circuit designs for free.
In this new series, “The Software Developer’s Hardware Journey”, we aren’t just going to play with toys.
The Art of Electronics by Horowitz and Hill (The Bible of Hardware).
Make: Electronics by Charles Platt (The best hands-on guide).
EEVblog on YouTube (For the true engineering enthusiast).
Adafruit and SparkFun (For high-quality parts and tutorials).
At TechnoChips.org, we believe that the boundary between software and hardware is artificial. Our mission is to provide you with the tools, the code, and the physical insight to build anything you can imagine. Whether you are a seasoned DevOps engineer or a junior frontend dev, there is a place for you in the world of silicon.
We don’t just teach you how to blink an LED; we teach you how to think in electrons.
My transition from IDE to soldering iron wasn’t about leaving software; it was about completing the stack. When you understand the silicon, you understand the code. When you understand the code, you understand the world.
Welcome to the hardware revolution. It’s time to get your hands dirty.
P.S. Why did the software developer cross the road? To see if the hardware developer on the other side had a spare resistor. (Spoiler: They did, and it was organized by color code.)

Stop fighting your wires. Learn to treat the breadboard like a high-speed sandbox for rapid hardware iteration, modular design, and professional prototyping.
Read More →