From Code to Reality: Building a Production-Grade IoT Device
A complete, end-to-end guide on building a secure, scalable IoT device using ESP32, MQTT, and AWS IoT Core. We bridge the gap between software logic and hardware reality.
Read More →
* SYSTEM.NOTICE: Affiliate links support continued laboratory research.
Why? Not just to watch your portfolio drop in real-time. But to master the three pillars of the Modern Web:
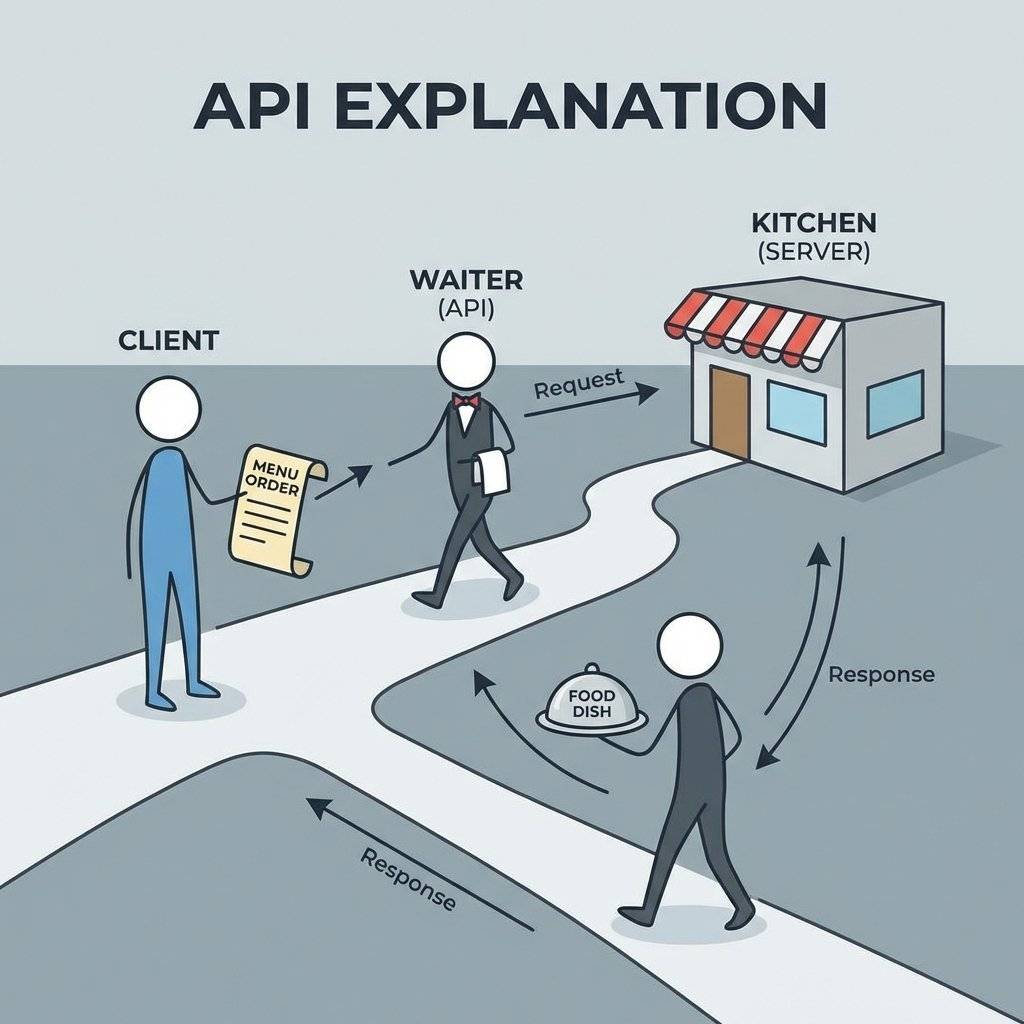
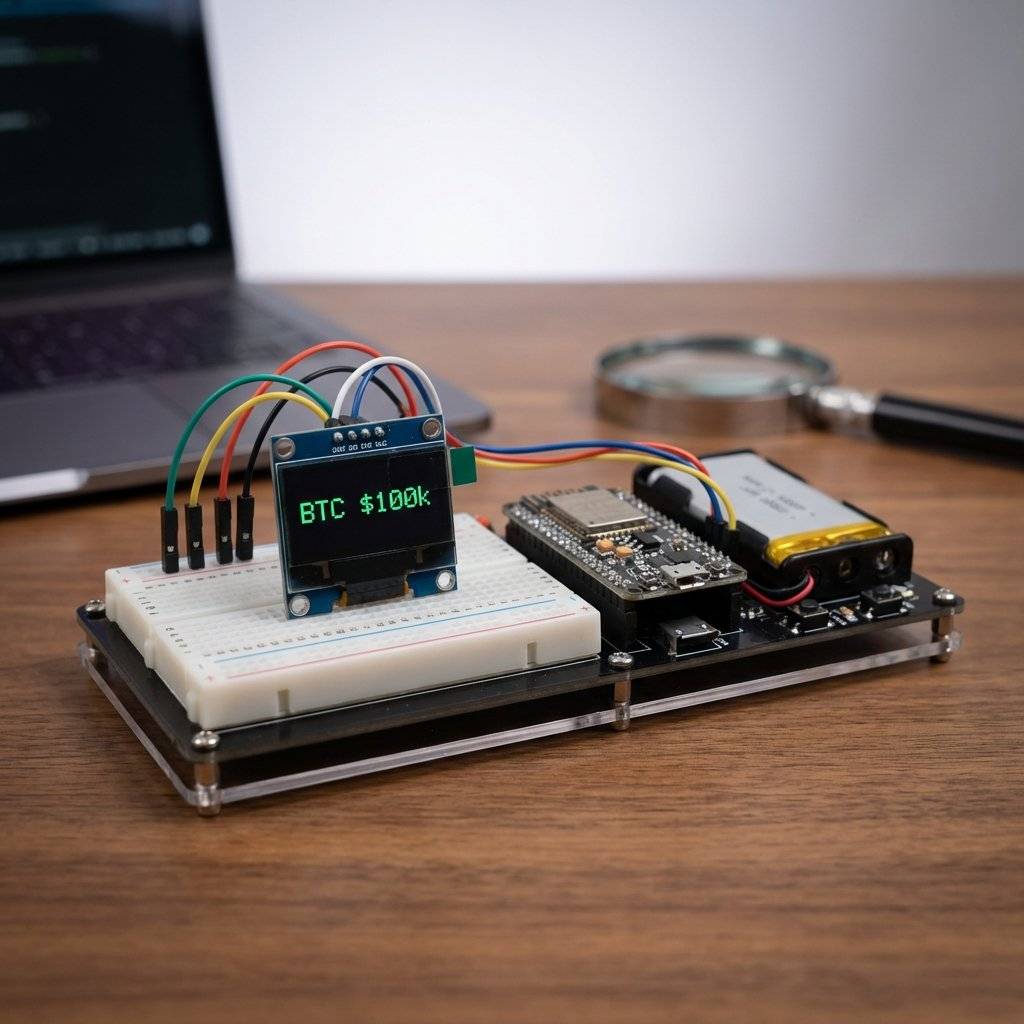
We will build a desktop device that connects to Wi-Fi, asks CoinGecko “What is the price of Bitcoin?”, receives the answer, and displays it on an OLED screen. It sounds simple. It is not. The internet is messy, secure, and heavy. Your $3 chip has to handle it all.
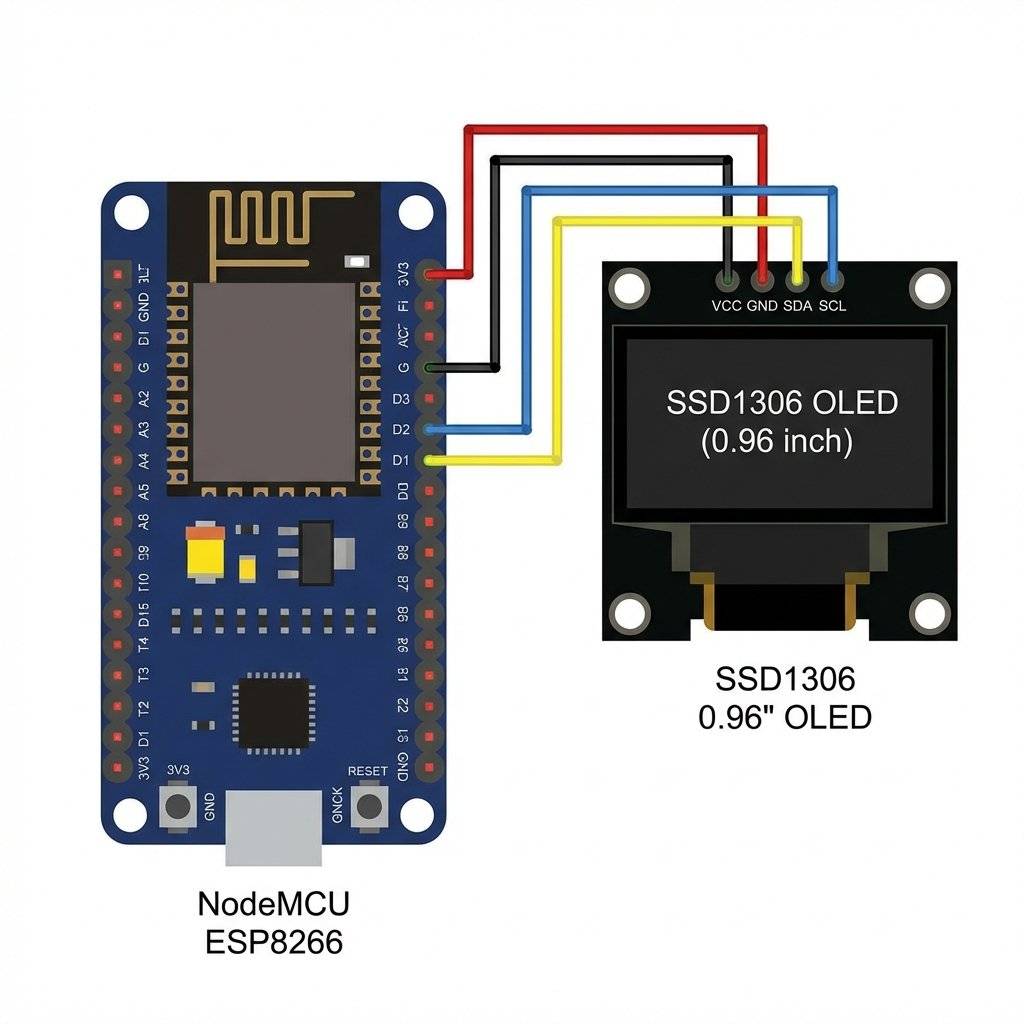
ESP8266 (NodeMCU)
SSD1306 OLED Display (0.96” I2C)
Jumper Wires
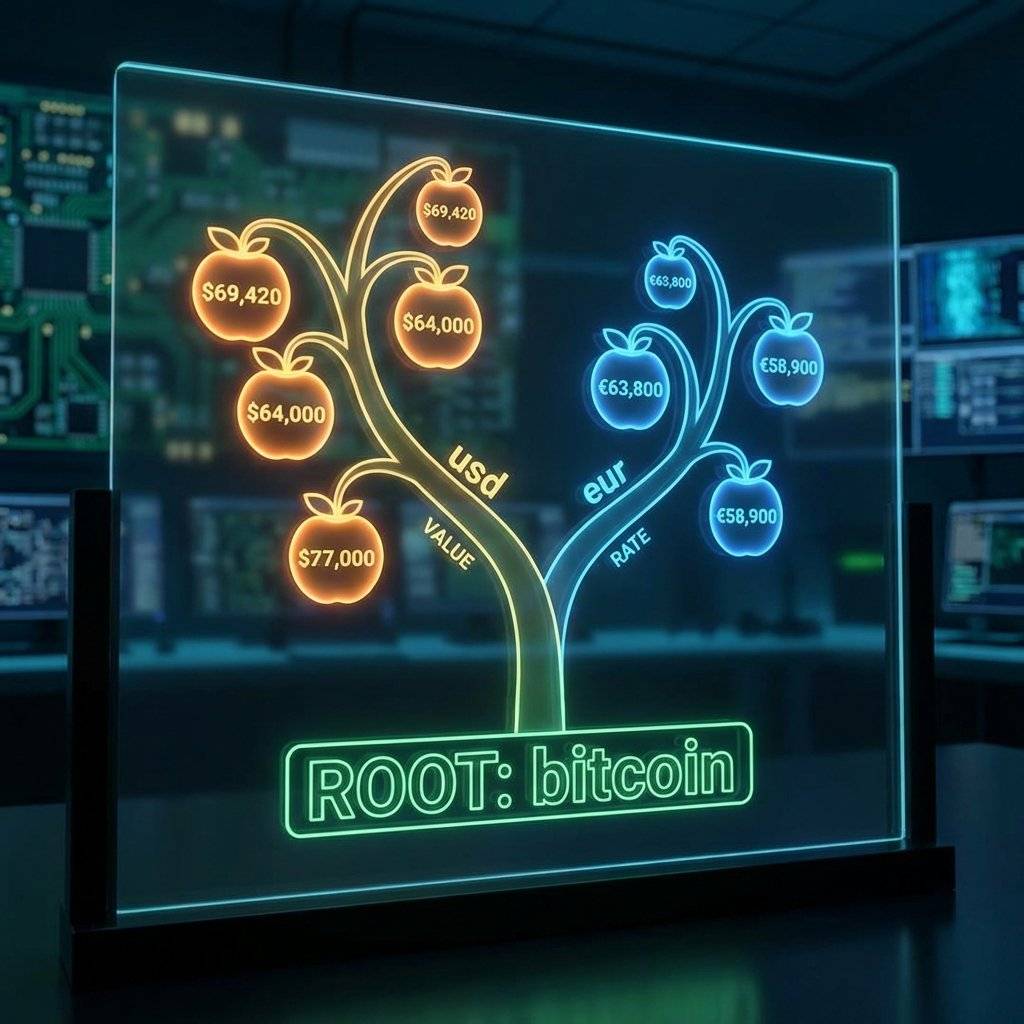
We need a source of truth. We will use the CoinGecko API.
It is free (for now) and doesn’t require an API Key.
Open this URL in your browser:
https://api.coingecko.com/api/v3/simple/price?ids=bitcoin&vs_currencies=usd
You will see this:
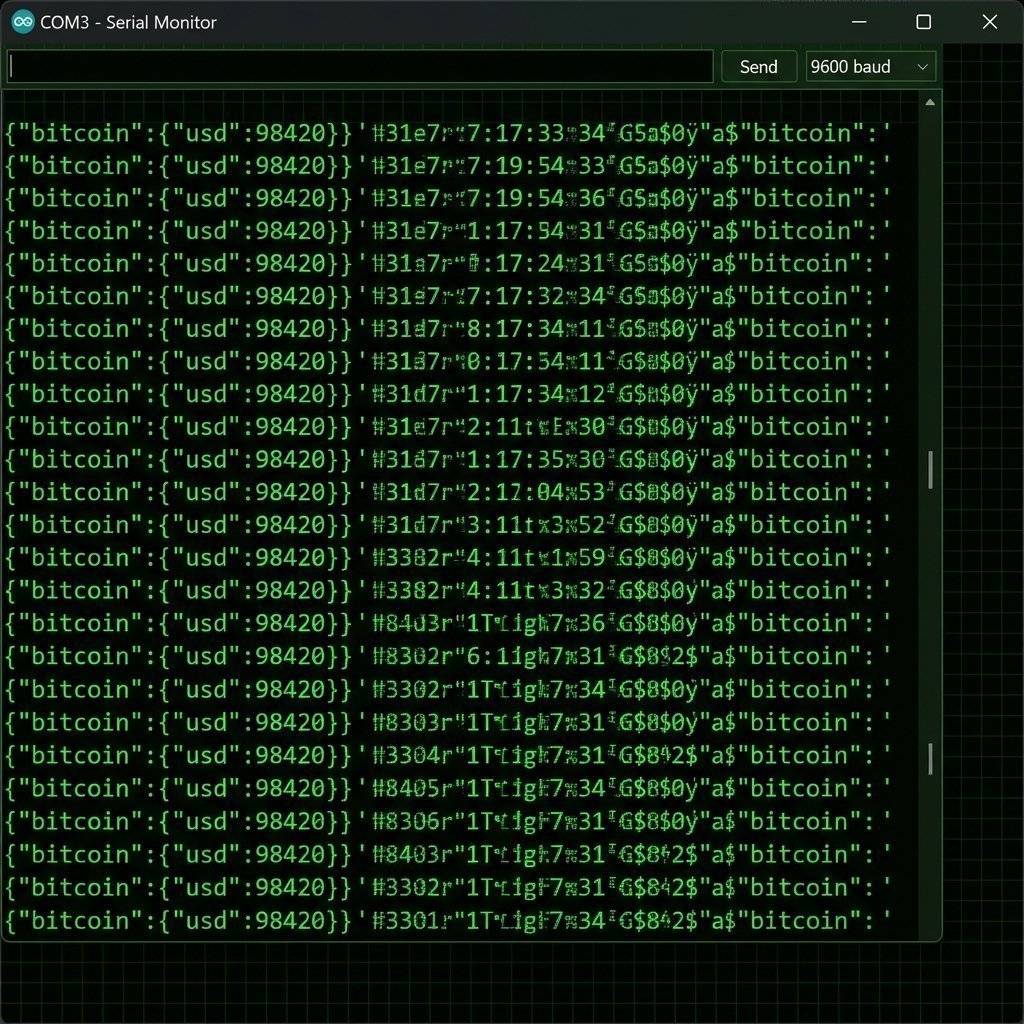
{"bitcoin":{"usd":98420}}
This is JSON. It is a tree structure.
To get the price, we need to peel the layers: Root -> bitcoin -> usd.
In the old days (HTTP), you just opened a connection on Port 80. Today, almost everything is HTTPS (Port 443). This involves SSL/TLS Encryption. Your browser does a “Handshake” with the server to verify it is legitimate using a Certificate. The ESP8266 is weak. It doesn’t have the processing power to verify the entire Chain of Trust of the internet.
We have two options:
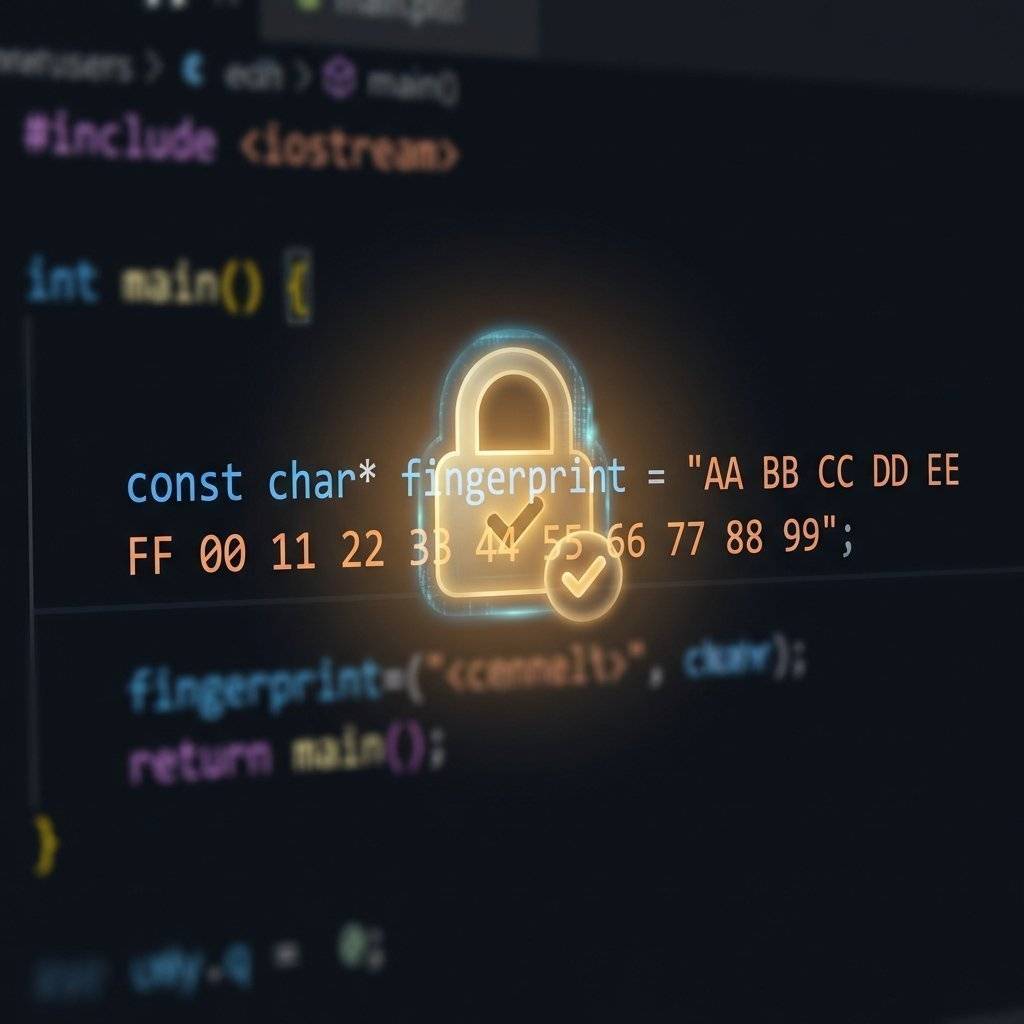
client.setInsecure() (No verification).
If you choose the secure route, you need the fingerprint (Thumbprint).
Text processing is heavy. If you try to read the entire JSON response into a String, you might crash the chip. We use the ArduinoJson library. It is a masterpiece of efficiency.
But you must allocate memory for it. How much? Use the **ArduinoJson Assistant**. You paste your JSON, and it calculates the exact byte size needed.
If you allocate too little, the parsing fails.
If you allocate too much, you run out of heap RAM (Stack Overflow).
For our simple Bitcoin price, DynamicJsonDocument doc(1024) is safe.

You might be tempted to put delay(1000) and update the price every second.
Don’t.
Sometimes, client.readString() returns garbage characters like 1f4 or 0.
This is Chunked Transfer Encoding.
Servers send data in pieces (Chunks) instead of one big block.
The numbers are the hexadecimal size of the next chunk.
The ESP8266HTTPClient library handles this automatically, but WiFiClient (which we used above for raw control) does NOT.
If you see weird numbers in your JSON, switch to ESP8266HTTPClient.
What if the JSON is huge (e.g., 20KB)?
DynamicJsonDocument doc(20000) will crash the ESP8266 (it only has ~40KB free heap).
But we only want one number: the price.
We can use a Filter.
// Create a filter that only allows "bitcoin" -> "usd"
StaticJsonDocument<200> filter;
filter["bitcoin"]["usd"] = true;

// Deserialize with filter
DeserializationError error = deserializeJson(doc, payload, DeserializationOption::Filter(filter));
Now, ArduinoJson ignores everything else. A 20KB JSON becomes a 50-byte object in RAM.
This is how professionals parse massive data streams on tiny chips.
Install these libraries:
ESP8266WiFiESP8266HTTPClientWiFiClientSecureArduinoJsonAdafruit_SSD1306 + Adafruit_GFX#include <ESP8266WiFi.h>
#include <ESP8266HTTPClient.h>
#include <WiFiClientSecure.h>
#include <ArduinoJson.h>
#include <Wire.h>
#include <Adafruit_GFX.h>
#include <Adafruit_SSD1306.h>
const char* ssid = "Your_SSID";
const char* password = "Your_PASSWORD";
// API Endpoint
const char* host = "api.coingecko.com";
const int httpsPort = 443;
const char* url = "/api/v3/simple/price?ids=bitcoin&vs_currencies=usd";
// OLED Setup
#define SCREEN_WIDTH 128
#define SCREEN_HEIGHT 64
Adafruit_SSD1306 display(SCREEN_WIDTH, SCREEN_HEIGHT, &Wire, -1);
void setup() {
Serial.begin(115200);
// Initialize OLED
if(!display.begin(SSD1306_SWITCHCAPVCC, 0x3C)) {
Serial.println(F("SSD1306 allocation failed"));
for(;;);
}
display.clearDisplay();
display.setTextSize(1);
display.setTextColor(WHITE);
display.setCursor(0,0);
display.println("Connecting to");
display.println(ssid);
display.display();
// Connect to WiFi
WiFi.begin(ssid, password);
while (WiFi.status() != WL_CONNECTED) {
delay(500);
Serial.print(".");
}
Serial.println("");
Serial.println("WiFi connected");
display.clearDisplay();
display.setCursor(0,0);
display.println("Connected!");
display.display();
}
void loop() {
if (WiFi.status() == WL_CONNECTED) {
WiFiClientSecure client;
client.setInsecure(); // For simplicity. Use setFingerprint() for production.
Serial.print("Connecting to ");
Serial.println(host);
if (!client.connect(host, httpsPort)) {
Serial.println("Connection failed");
return;
}
// Send HTTP Request
client.print(String("GET ") + url + " HTTP/1.1\r\n" +
"Host: " + host + "\r\n" +
"User-Agent: ESP8266\r\n" +
"Connection: close\r\n\r\n");
Serial.println("Request sent");
// Check HTTP Status
while (client.connected()) {
String line = client.readStringUntil('\n');
if (line == "\r") {
Serial.println("Headers received");
break;
}
}
// Parse JSON
String payload = client.readString();
Serial.println("Reply was:");
Serial.println(payload);
// JSON Buffer
DynamicJsonDocument doc(1024);
DeserializationError error = deserializeJson(doc, payload);
if (error) {
Serial.print(F("deserializeJson() failed: "));
Serial.println(error.f_str());
return;
}
// Extract Data
float price = doc["bitcoin"]["usd"];
// Display on OLED
display.clearDisplay();
display.setTextSize(2);
display.setCursor(0,0);
display.println("Bitcoin:");
display.setTextSize(2); // Big Text
display.setCursor(0, 30);
display.print("$");
display.println(price);
display.display();
Serial.print("BTC Price: ");
Serial.println(price);
}
// Wait 60 seconds. Do not spam the API or you will be banned.
delay(60000);
}
You might notice I used client.readStringUntil('\n') until I hit \r.
Why?
An HTTP Response looks like this:
HTTP/1.1 200 OK
Date: Fri, 30 Jan 2026 12:00:00 GMT
Content-Type: application/json
... other headers ...

{"bitcoin":{"usd":98420}}
The JSON is the Body. The top part is Headers.
There is always an empty line between Headers and Body.
We must skip the headers to get to the clean JSON. If we feed headers into deserializeJson(), it will fail.
What if Wi-Fi drops? What if CoinGecko is down?
A professional product doesn’t just freeze.
It shows “Retrying…”.
In your code, always check if (WiFi.status() == WL_CONNECTED) before making requests.
Also, check if (error) after parsing JSON.
If parsing fails, keep the last known price on the screen instead of showing $0.00.
| Component | Quantity | Value | Notes |
|---|---|---|---|
| NodeMCU | 1 | ESP8266 | The IoT brain. |
| SSD1306 OLED | 1 | 128x64 | I2C Display. |
| Jumper Wires | 4 | F-F | Connectivity. |
| USB Cable | 1 | Micro | Programming/Power. |
You have built a window into the global financial market. This same logic applies to OpenWeatherMap (Weather Station), Twitter APIs (Follower Counter), or even your own server. You have unlocked the ability to pull data from the cloud and manifest it in the physical world.
This marks the end of Day 30. You have conquered the Basics, the Logic, and the Internet.
Next Up: We enter The Final Phase: Systems Engineering. We are no longer building “demos”. We are building “products”. We will combine everything: Sensors, Displays, Internet, and Control into massive capstone projects. Get ready for the Home Automation Hub.

A complete, end-to-end guide on building a secure, scalable IoT device using ESP32, MQTT, and AWS IoT Core. We bridge the gap between software logic and hardware reality.
Read More →
WiFi barely reaches your driveway. LoRa reaches the next town. Master the SX1278 module, Chirp Spread Spectrum physics, and build a 5km range sensor network.
Read More →
Stop polling your server every 5 seconds. Learn why Professional IoT uses MQTT. Master Pub/Sub architecture, QoS levels, Retained Messages, and Last Will & Testament.
Read More →